
Pencil control grows more comfortably when preschoolers begin with large, playful marks and move toward smaller, more precise paths. You do not need a thick workbook or a long lesson. Five relaxed minutes with one clear activity is enough for today.
Start pencil control activities for preschoolers with big lines on a wall, easel, or outdoor chalk surface. Then try short roads, curves, shapes, simple mazes, and small coloring spaces. Keep the tool easy to hold, stop before the task becomes a battle, and change the page before asking the child to “try harder.”
This is a flexible progression, not an age test. A child may love a maze but dislike tracing, or enjoy giant chalk lines long after they can draw small shapes. Follow the marks you see and the activities your child willingly repeats.
If you need a wider choice of printable pages for a short trial, begin with the KidsColorsBook Free Printables library.
Choose a Starting Point in 30 Seconds
| What you notice | Start with | Make it easier | Try next |
|---|---|---|---|
| Marks are very light, fast, or mostly from the shoulder | Wall roads or giant chalk tracks | Use a shorter chunky crayon or chalk | Short start-to-finish roads |
| Straight lines are comfortable, but curves are tricky | Rainbow arches and wavy paths | Make the curve wider and shorter | Shape trails |
| Simple shapes are copied, but paths are left often | Sticker route or easy maze | Cover half the route | Small-space coloring |
| The child presses hard or tires quickly | One-minute wall marks, then stop | Use a smoother tool and bigger paper | Repeat another day |
| The child wants more challenge | Narrower roads or copy-a-picture | Keep the finish visible | Combine two activities |

Nine Pencil Control Activities in a Gentle Order
You can move forward, repeat a favorite, or step back. The order simply travels from large movements to more controlled marks.
1. Draw giant roads on a vertical surface
Tape a large sheet of paper to a wall, use an easel, or take chunky chalk outdoors. Draw two wide roads: one straight and one gently curved. Add a simple destination such as a garage, tree, or moon. Invite your child to drive a crayon or chalk “car” along the road.
Vertical work gives the arm and shoulder a useful role before the task becomes small. Sheffield Children’s NHS Foundation Trust includes large wall or board drawing and inclined-surface activities in its fine-motor guidance for preschool and younger children.
Easier: use one road as wide as a hand. Harder: add a turn or ask the line to stop inside a large parking box.
2. Race along short start-to-finish tracks
Draw five short horizontal tracks, each with a clear dot at the start and a simple picture at the finish. Let the child choose a different color for every race. The aim is not perfect straightness; it is beginning, moving with purpose, and stopping near the destination.
Keep each track short enough to finish in one motion. If the crayon flies far beyond the line, add a large finish circle. If the child pauses repeatedly, shorten the track rather than correcting the grip.
Easier: trace between two broad bands. Harder: make one track diagonal or slightly narrower.
3. Follow a sticker route
Place six to eight large stickers across a page. Draw a loose path that visits them in order, or let the child create the connecting line. Say the sticker names as the crayon travels: “star, apple, moon.” This keeps the route meaningful without turning it into a worksheet.
Leave generous space between stickers. Small decorative stickers can make the task fiddly and may be unsuitable around younger children, so choose materials appropriate for your child and supervise as needed.
Easier: use four big stickers in a straight row. Harder: arrange the route in a gentle zigzag.
4. Build rainbow arches
Draw one large upside-down U. Ask the child to add another arch outside it, then another. The lines can touch or wander. The repeated curve matters more than a tidy rainbow.
Try the same movement as hills, bridges, or a caterpillar tunnel. Changing the story keeps the motion fresh while the pencil path stays familiar. Stop after three or four lines if the spacing begins to shrink or the hand looks tense.
Easier: trace one thick arch with a finger before using a crayon. Harder: alternate large and small arches.
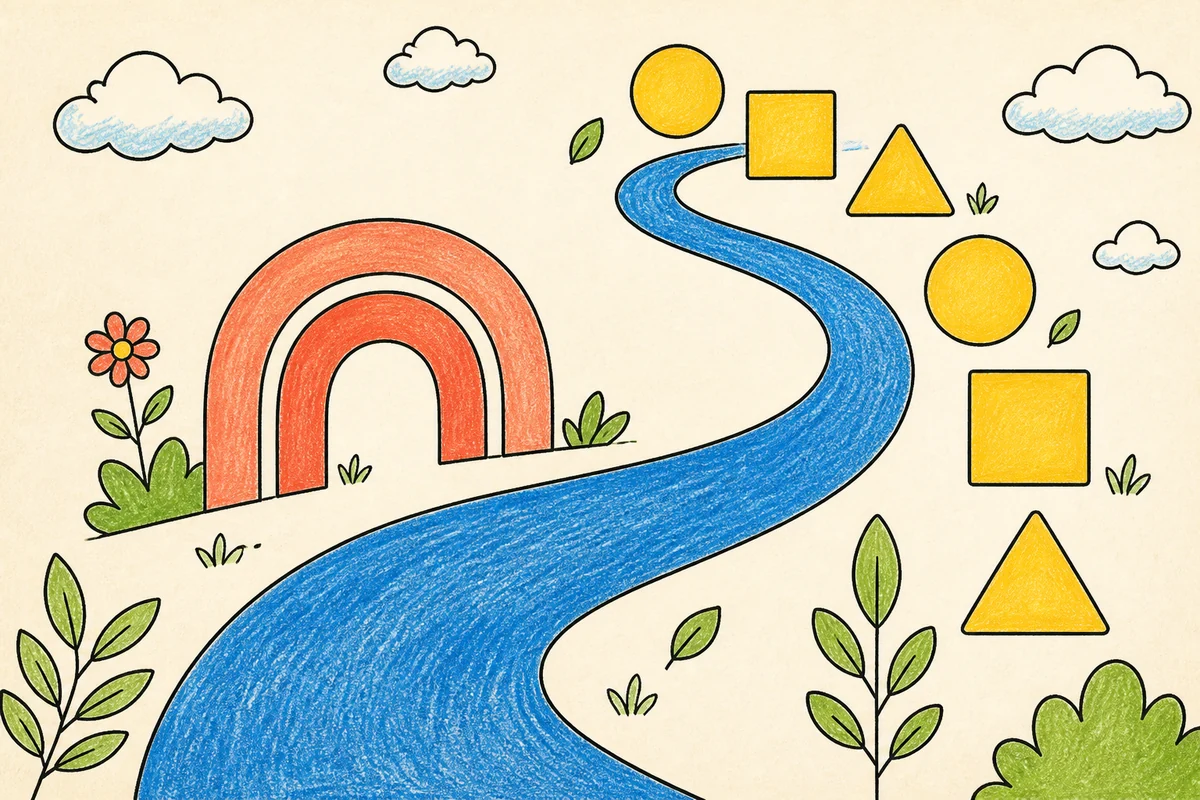
5. Trace simple shape trails
Make a trail from large circles, squares, and triangles. Use only three or four shapes on the page. The child can trace the outlines, color them, or draw a line from one matching shape to the next.
Shapes introduce corners and planned direction changes. A square usually asks for more stop-and-turn control than a circle, so it is fine to offer only circles first. If tracing the outline feels frustrating, place dots at the corners and invite the child to join them.
Easier: use one large circle and one large square. Harder: copy a small shape beside each example.
6. Make waves, loops, and zigzags in sensory play
Spread a thin layer of flour, sand, or foam on a tray and draw paths with a finger, craft stick, or paintbrush. Try waves first, then loops, then a slow zigzag. Smooth the tray and begin again without leaving a “wrong” line behind.
This is useful when paper feels too permanent. Keep the amount shallow, choose a child-safe material, and supervise closely. A dry tray with a brush also works when messy play is not practical.
Easier: copy one long wave. Harder: switch between wave, loop, and zigzag when you name them.
7. Solve a homemade picture maze
Draw two broad lines that create one obvious route from an animal to its home, a bee to a flower, or a rocket to a planet. Avoid branches at first. Once the child can stay within the broad route, add one friendly dead end.
A homemade maze can fit the child better than a busy printed page because you control the width and length. If the line leaves the path, keep the story going: “The bee took a little detour.” Then widen the next maze.
Easier: use a finger before the crayon. Harder: add one choice and make the route slightly longer.
8. Color from big spaces to small spaces
Offer a picture with one large area, one medium area, and one smaller detail. Ask which space the child wants first. Large spaces allow broad movement; smaller spaces invite slower control without requiring a separate tracing task.
Clear outlines are more useful than a crowded picture. If coloring spills outside the shape, treat that as information about the page—not a mistake to erase. Switch to a bolder image or invite the child to outline the edge first.
The Cute Animals Adventures coloring book is one current KCB example with 19 clear-outline animal pages for ages 3–7. It is a contextual option, not a required step in this routine.
Easier: color one large shape. Harder: choose two adjacent areas without crossing the shared line.
9. Copy a tiny picture in three steps
Draw a very simple picture using three familiar marks: a circle sun with straight rays, a square house with a triangle roof, or a fish made from an oval and triangle tail. Build it one mark at a time and let the child copy beside you.
Keep your example plain. Detailed demonstrations can make the child compare finished pictures instead of watching the marks. Celebrate the parts that carried meaning: “Your roof sits on the house,” or “Those rays go all around the sun.”
Easier: let the child add the final line to your picture. Harder: look at the finished example, then copy it without step-by-step prompts.

A Five-Minute Pencil-Control Routine
- Move for one minute. Push against a wall, crawl to collect crayons, or draw one giant circle in the air.
- Choose one activity. Use the table above and show only the materials needed now.
- Model one mark. Demonstrate the start and finish, then leave space for the child’s version.
- Watch for two minutes. Notice pressure, speed, stopping, and whether the child returns to the path.
- Finish while it still feels manageable. Save the page or take a photo only if the child wants to.
For more low-prep play that strengthens hands without making pencils the focus, use the broader list of fall fine motor activities for preschoolers. The activities can be adapted beyond autumn by swapping seasonal materials.
What to Adjust Before Correcting the Child
- Make the path wider. A clear route is easier to plan than a narrow one.
- Shorten the finish distance. Several tiny successes can be more inviting than one long trace.
- Change the surface. Move from flat paper to an easel, wall, chalkboard, or tray.
- Change the tool. Try a shorter chunky crayon, chalk, brush, or finger.
- Reduce visual clutter. Cover half the page or offer one shape instead of six.
- Change the story. A line can become a road, river, rocket trail, or animal path.
- Stop sooner. Tired or frustrated marks do not need to become a lesson in persistence.
For help choosing printable difficulty, activity mix, and a small trial set, see the parent guide to printable activity books for kids. For non-pencil ideas, browse the Activities hub or these screen-free activities for preschoolers.
Frequently Asked Questions
What age should pencil control activities start?
There is no single start age for formal pencil work. Preschoolers can explore marks through chalk, crayons, paintbrushes, fingers, and large drawing surfaces. Begin when the child shows interest, keep the activity playful, and choose a size that allows an easy first success.
How long should a preschool pencil activity last?
Five minutes is a useful upper target for a focused mini-routine, but the right length may be shorter. One completed road or three rainbow arches can be enough. Stop when the child loses interest, presses much harder, shakes the hand, or turns the activity into a different kind of play.
Should I correct a preschooler’s pencil grip?
Avoid repeatedly forcing the fingers into one position. Offer comfortable, age-appropriate tools and varied activities, then watch whether the child can make marks without pain or unusual strain. If you have ongoing concerns about comfort or development, ask an appropriate health or education professional who can see the child directly.
Are tracing worksheets necessary for pencil control?
No. Tracing can be one option, but wall drawing, chalk roads, sensory paths, mazes, coloring, and copying simple shapes also practice planned marks. Use tracing only when the child understands the route and is willing to follow it.
What if my child avoids every pencil activity?
Pause the pencil and return to large playful movements: spray-bottle water marks outdoors, paintbrush lines, playdough, tongs, stickers, or chalk. Remove the performance pressure. If avoidance is persistent or connected with pain, fatigue, or difficulty in daily tasks, discuss it with a qualified professional.
Let the Page Meet the Child
Pencil control does not need to begin with neat letters or long worksheets. Start with the largest enjoyable mark, offer one visible finish, and adjust the tool or path before correcting the child. When a five-minute activity ends with willingness to return, it has done its job.


1 note from other parents