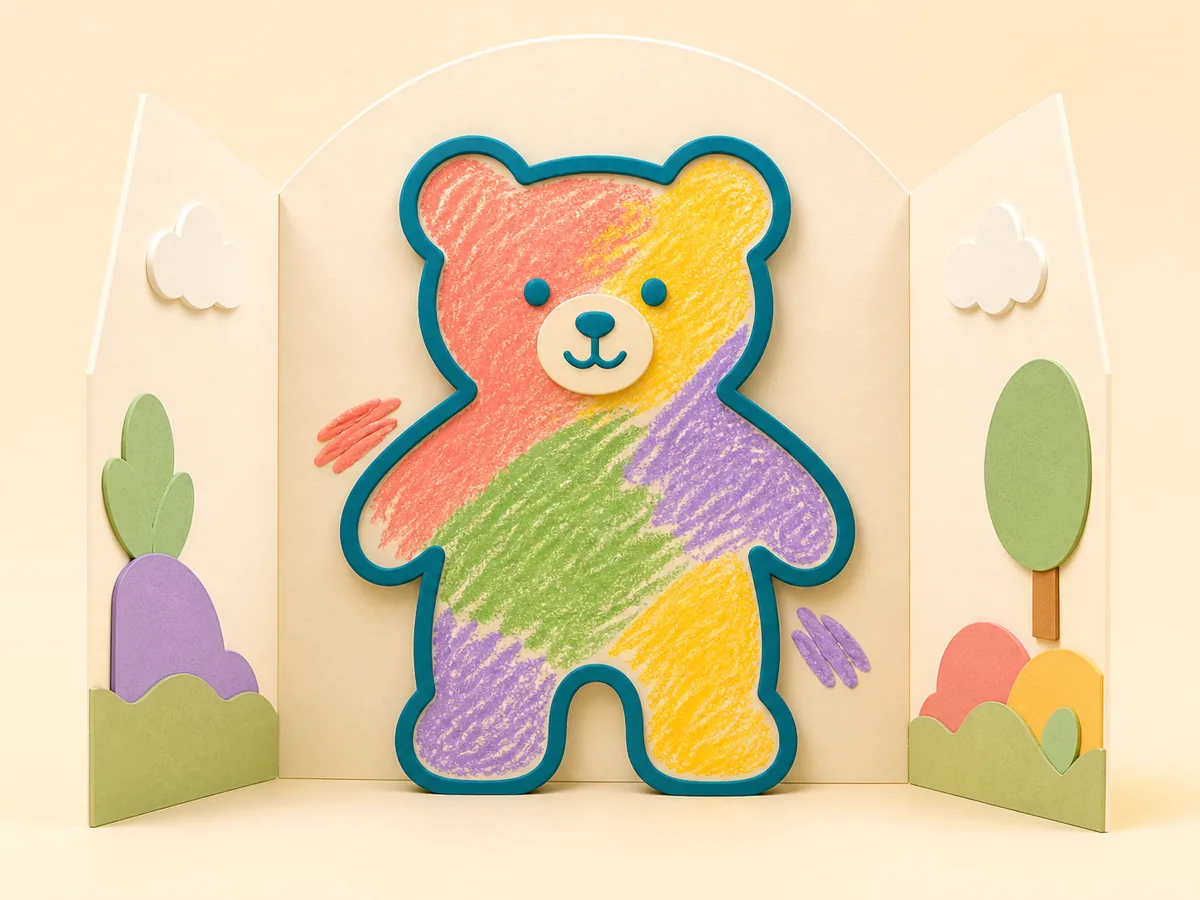
If coloring inside the lines feels hard, begin by changing the page rather than correcting the child. Choose one simple picture with a bold outline and a large open space. Model a slow line near one edge, invite your child to fill one small area, and stop while coloring still feels enjoyable.
To help a preschooler color inside the lines, make the first success easy to see: use a clear picture, a comfortable crayon, and one short section. Show the edge once, then let the child choose colors and make the picture their own. Going outside the lines is information about the task, not a failure.
This is not an age test. Children can enjoy coloring in very different ways: fast scribbles, careful patches, one favorite color, or a picture that becomes a completely new story. Neater coloring can develop with practice, but creativity and willingness matter more than a perfect border.
If you want to try several page styles before choosing a paid book, start with the KidsColorsBook Free Printables library.
Choose the First Fix in 30 Seconds
| What you notice | Try first | Make it easier | Avoid for now |
|---|---|---|---|
| The crayon crosses every edge quickly | One large shape with a thick outline | Cover the rest of the page | Detailed scenes |
| The child colors for a few seconds, then leaves | One small area and two color choices | Let the child choose the stopping point | Finishing the whole page |
| The child presses very hard | A smoother crayon and larger space | Use a fresh sheet on a firm surface | Repeated grip corrections |
| The outline seems hard to notice | Trace the edge with a finger first | Add one contrasting boundary mark | Busy patterned borders |
| The child asks you to do it | Color one tiny example beside them | Take turns with separate spaces | Completing their picture |

Seven Gentle Steps for Coloring Inside the Lines
Use these steps in order for a new activity, or jump to the one that solves the problem you see. The goal is a calmer, clearer task – not a page that looks grown-up.
1. Start with one bold, open picture
Pick a page with one familiar subject, a strong outline, and a few large spaces. A simple apple, fish, flower, or friendly animal is easier to read than a crowded scene with tiny details. If the page contains several objects, fold or cover part of it so only one area is visible.
Ask, “Which part would you like to color first?” A child who chooses the tail, roof, or biggest circle has a clear destination. There is no need to begin at the top or complete every white patch.
Easier: draw one large circle on blank paper. Next: offer a picture with one large area and two medium areas.
If your child wants a full set of simple animal subjects, the live Cute Animals Adventures coloring book is one contextual option. It includes 19 printable US Letter pages with 10 animal characters, clear outlines, and a single PDF for ages 3-7. It is not required for these steps; one suitable free page is enough to begin. You can also browse the wider coloring pages collection without committing to this example.
2. Offer a crayon that feels easy to move
Place two or three crayons beside the page instead of tipping out a full box. Fewer choices reduce searching and keep the activity visually simple. A fresh crayon that moves smoothly can also be less frustrating than a dry marker or a pencil that needs heavy pressure.
Sheffield Children’s NHS Foundation Trust notes that some children with a weak grip may do better with short, fat crayons or markers. That is an option, not a rule for every child. Let comfort and the marks you observe guide the choice.
Choose age-appropriate art materials and follow the product label. The U.S. Consumer Product Safety Commission explains that art materials are subject to hazard-labeling rules and may display an ASTM D-4236 conformance statement.
Easier: offer one chunky crayon. Next: let the child switch between two colors for adjacent spaces.
3. Find the edge before adding color
Before coloring, invite your child to drive a finger around the shape. You can say, “This line is the fence,” or, “Let’s find the path around the bear.” Keep the story brief so the edge remains the focus.
Then model one slow crayon line just inside a short part of the border. Do not outline the whole picture for the child. One example is enough to show the idea while leaving ownership of the page with them.
If the child ignores the demonstration and begins in the middle, let that be the starting point. Return to the edge on another space rather than stopping the activity for a correction.
Easier: trace the edge with a finger only. Next: color a short border strip before filling the center.

4. Turn the boundary into a stop-and-go game
Choose one large space and make three slow strokes. Say “go” while the crayon moves and “stop” when it reaches the outline. Let your child call the words for your turn, then swap roles.
You can also add two or three small dots just inside the border. The child colors from the center toward a dot and stops there. Keep the dots sparse; a ring of marks around every edge can make the page busier than it was before.
The game should stay playful. If “stop” begins to sound like a warning, change the words to “drive” and “park,” or return to free coloring for the rest of the page.
Easier: use one wide space and one stop point. Next: try two neighboring spaces with a shared line.
5. Fill one small island at a time
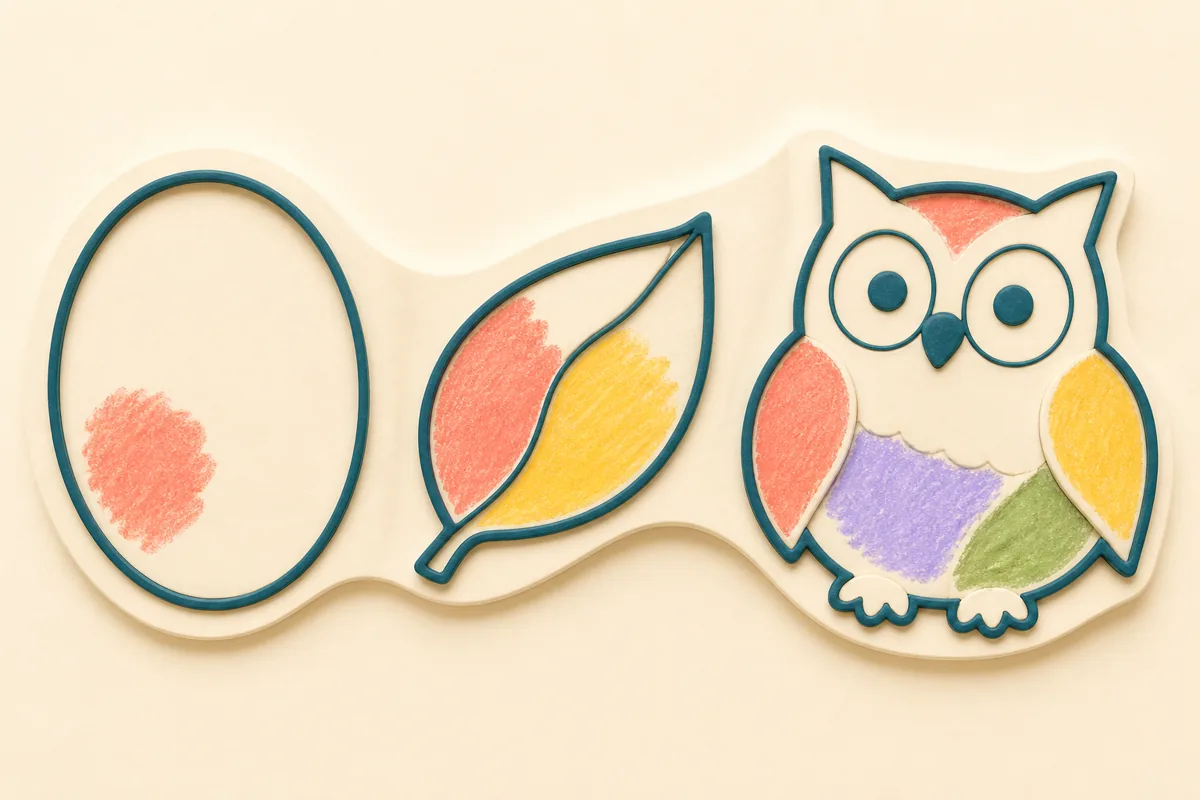
A large area can be tiring when the child tries to cover it all at once. Divide the job without drawing extra lines: color a small patch near one edge, pause, then choose the next patch. The patches can touch, overlap, or leave white space.
Try naming each patch by color or story: blue water, yellow sunshine, green grass. This gives the hand a nearby target and gives the child a reason to return without asking for neater work.
If the strokes become faster and wider, the space may simply be finished for today. A partly colored picture can still be complete.
Easier: fill one coin-sized patch. Next: connect two patches without crossing the outline.
6. Reduce your help as soon as the idea clicks
Once your child notices an edge or slows near a boundary, step back. Trade instructions for observations: “You stopped near the line,” “You chose the biggest space,” or, “That blue patch reaches the corner.” These comments describe what happened without grading the picture.
Avoid taking the crayon hand-over-hand unless a qualified professional has recommended that approach for your child. Demonstrating on your own paper is usually a gentler way to show a movement while preserving the child’s control.
The same official NHS fine-motor guidance recommends a low-pressure, encouraging attitude and making activities fun. That principle matters more than completing a practice sequence.
Easier: color beside your child on separate paper. Next: wait quietly while the child chooses the next space.
7. Finish before frustration takes over
End after one successful space, one calm minute, or one clear attempt to stop near an edge. A short activity that your child wants to repeat is more useful than a finished page reached through pressure.
Offer a simple closing choice: “Would you like to save this for later or put it on the fridge?” If the child turns the page into a road map, cuts it into a collage, or adds marks outside the picture, the activity can still be valuable creative play.
Use the same page another day only if the child wants it. Otherwise, begin with a fresh simple picture and make one small change – a thicker outline, a larger space, or a different crayon.
Easier: stop after one colored patch. Next: choose two spaces before beginning.
A Five-Minute Coloring Routine
- Choose for 30 seconds. Show two simple pages and let the child pick one.
- Find an edge for 30 seconds. Trace one outline with a finger or tell a tiny “fence” story.
- Model for 30 seconds. Make one slow stroke on your own paper or in a separate space.
- Color for three minutes. Let the child choose the space, colors, and pace.
- Close for 30 seconds. Name one thing you noticed and let the child decide whether the page is finished.
For a broader progression of roads, curves, mazes, and small-space coloring, use these pencil control activities for preschoolers. For help matching page density and activity type to your child, see the guide to printable activity books for kids.
When to Step Back or Ask for Help
Step back when the child repeatedly turns away, becomes upset, asks you to finish, or changes the activity into free drawing. Those are useful signals that the page, timing, or goal does not fit today.
Try a non-coloring activity instead: playdough, tearing and gluing paper, chalk outdoors, stickers, tongs, water painting, or one of these fine-motor activities for preschoolers. Fine-motor practice does not have to look like a worksheet.
If drawing or coloring is consistently painful, unusually tiring, or difficult alongside other everyday hand tasks, speak with an appropriate health or education professional who can observe your child directly. This article offers general activity ideas, not diagnosis or therapy.
Frequently Asked Questions
Is it normal for a preschooler to color outside the lines?
Yes. Preschool coloring can include broad scribbles, changing pressure, unfinished spaces, and marks that cross the outline. Treat the page as practice and creative play rather than a test. Choose simpler pictures when your child wants more control, but do not make staying inside every line the price of enjoying art.
Should I trace the whole outline with a marker first?
A darker outline can make one shape easier to see, but tracing every detail may add clutter or turn the activity into a parent-made page. Start with a naturally bold picture. If needed, strengthen only one short edge or add a few stopping dots just inside the boundary.
What coloring pages are easiest for beginners?
Look for one familiar subject, thick clear outlines, large open areas, and very little background detail. A page with three useful spaces is often easier than a scene with many tiny sections. Print one test page before committing to a full book.
Does coloring inside the lines build fine-motor skills?
Coloring is one fine-motor activity because it uses controlled hand movements, but neatness is not a complete measure of development. Playdough, threading, chalk, painting, tearing paper, and many everyday tasks also use the hands in valuable ways. Keep the claim modest: coloring offers practice, not a guaranteed outcome.
What if my child dislikes coloring?
Do not force it. Try drawing roads, painting with water, using chalk, making collages, or adding stickers to a simple picture. Return to coloring later with a different tool or subject if the child shows interest. A child can build hand skills and creativity without enjoying coloring books.
Make the Page Easier, Not the Moment Heavier
The most useful first change is usually the simplest: a bolder picture, a larger space, a smoother crayon, or a shorter session. Show one edge, celebrate one intentional mark, and leave room for the child to turn the page into something unexpected. Coloring inside the lines can be practiced gently; enjoying the picture should never depend on doing it perfectly.

1 note from other parents