Choose crochet pumpkins for fall by the result you want: a mini pumpkin for a small accent, a chunky ribbed pumpkin when you want texture to stand out, or pumpkin coasters for a flat seasonal table project. Then check the chosen pattern’s materials, finished measurements and techniques before buying yarn.
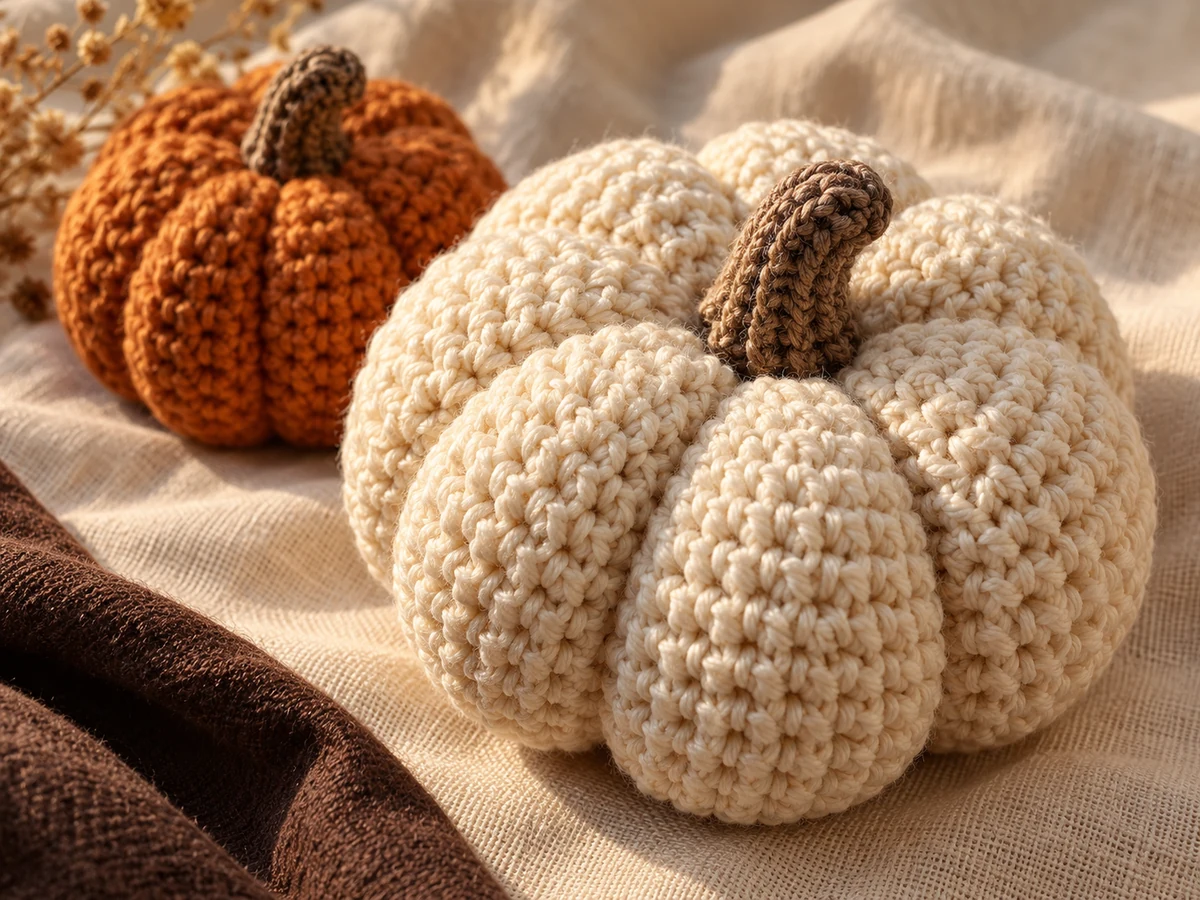
The hero is an AI-created editorial image for seasonal inspiration, not a preview of an exact KCB pattern result.
This guide is for adult makers and crocheters. It helps you choose and plan a project; it does not include full crochet instructions. You can use the same checks with a suitable pumpkin pattern you already own.
Why crochet pumpkins work all through fall
A pumpkin shape gives you a seasonal starting point without requiring a Halloween face or a spooky theme. If you want an autumn display that works before and after October 31, try plain pumpkin forms and a small palette you enjoy: warm orange, cream and muted brown, for example.
You can change the surrounding accents as the season moves on. A dark runner brings a little Halloween contrast; a cream cloth and simple ceramic bowl suggest a quieter autumn table. Those are styling choices, so choose what suits your home rather than trying to copy every object in an inspiration photo.
Mini pumpkin, chunky ribbed pumpkin or coasters?
The useful difference is the finished form, not an assumed difficulty ranking. The KCB pumpkin collection contains Mini Classic Pumpkin, Chunky Ribbed Pumpkin and Pumpkin Coaster Set. Here is how to think about the role of each before deciding which PDF to open first.
Mini Classic Pumpkin: a small accent
Start with the mini direction if you want a little pumpkin detail beside something you already have, such as a small bowl or a stack of books. It can also be the quieter companion to a more textured pumpkin. You do not need to make several for the idea to work.
Check the pattern’s finished measurements against the object it will sit beside. “Mini” describes the project’s intended look; it is not a promise that the instructions are the easiest or that the make will fit into one short session. Include any separate finishing and assembly in your plan.
Chunky Ribbed Pumpkin: texture as the focal point
Choose the chunky ribbed direction when the ridges and yarn texture are the main attraction. Give that texture a quiet background: a plain cloth or simple wooden surface can be enough. If you add a mini pumpkin, let one form lead rather than competing with a row of equally prominent objects.
Use the PDF’s yarn and hook guidance, not the appearance of a photograph, to plan supplies. The project name does not tell you every material specification. Before committing, read the techniques and finishing notes and decide whether you feel comfortable following them.
Pumpkin Coaster Set: a flat table project
Choose coasters if you want the pumpkin theme to appear at individual places rather than as an upright ornament. Plan the number of places you actually want to dress, then check what the pattern specifies for the set and how much yarn your planned make needs.
After making the first coaster, check its finished size and how evenly it sits before repeating it. Follow the pattern’s finishing and care guidance. Do not assume that a decorative coaster can double as a trivet for hot cookware or that every yarn will perform the same way.
If these three forms match your plans, the Pumpkin Crochet Patterns collection lists the included digital PDFs and its approved gallery. You can compare the details before choosing a project.
Read the pattern before choosing yarn
Keep a short note beside the pattern so you can separate what you know from what you still need to check. This is especially useful when comparing a three-dimensional pumpkin with a flat coaster: they have different finished jobs, even if you want them in the same color.
- Finished result: note the listed dimensions and whether you want one piece or a repeated set.
- Materials: copy the required yarn, quantity, hook and other supplies from that specific pattern. Do not transfer the list from a different pumpkin project.
- Techniques: scan the abbreviation key and instructions for anything you need to practise before starting.
- Finishing: check the relevant joining, shaping, ends and care instructions rather than treating the final stitch as the whole finish.
The Craft Yarn Council’s yarn-weight guide gives general hook and gauge ranges and says to follow the gauge in your pattern. Treat a yarn substitution as a decision to check, not a color swap that guarantees the same finished size.
For UK readers, check the terminology before beginning. US and UK crochet stitch names differ; the Council’s crochet abbreviation reference includes a comparison. Use the definitions in your chosen PDF rather than assuming which system it follows.
Plan a palette that can move from fall to Halloween
Try choosing one main pumpkin color, one lighter companion and one small contrasting accent. You can keep the pumpkin yarns consistent while changing the objects around them.
- Warm autumn: pumpkin orange with cream and muted brown. Let the texture provide most of the detail.
- Quiet neutrals: cream with soft brown surroundings. Check the yarn colors together in the light where you will display the finished pieces.
- A Halloween shift: keep the orange or cream pumpkins and add a dark cloth or other existing seasonal accent nearby.
These are palette ideas, not instructions to alter a pattern’s construction. Choose colors within suitable yarn options first. If the yarn you love differs from the specification, check the pattern guidance before committing to a whole group.
Build a small pumpkin display without making the whole collection
Build one simple arrangement around contrast: an upright textured pumpkin, a smaller companion and a little clear space. If coasters are the part you most want to make, start with those and let them carry the theme. You do not have to complete all three projects for the table to feel seasonal.
For a coffee corner, try placing a pumpkin off to one side and leaving the middle available for everyday use. For a seasonal meal, put the usual place settings out before adding decorations. If you want a pumpkin on an entryway surface or shelf instead, the same idea applies: one clear focal object can be enough.
For a wider plan involving garlands, characters or several parts of a room, see our Halloween crochet decorations guide. This pumpkin guide keeps the decision focused on what you want to make first.
The focused collection or the wider bundle?
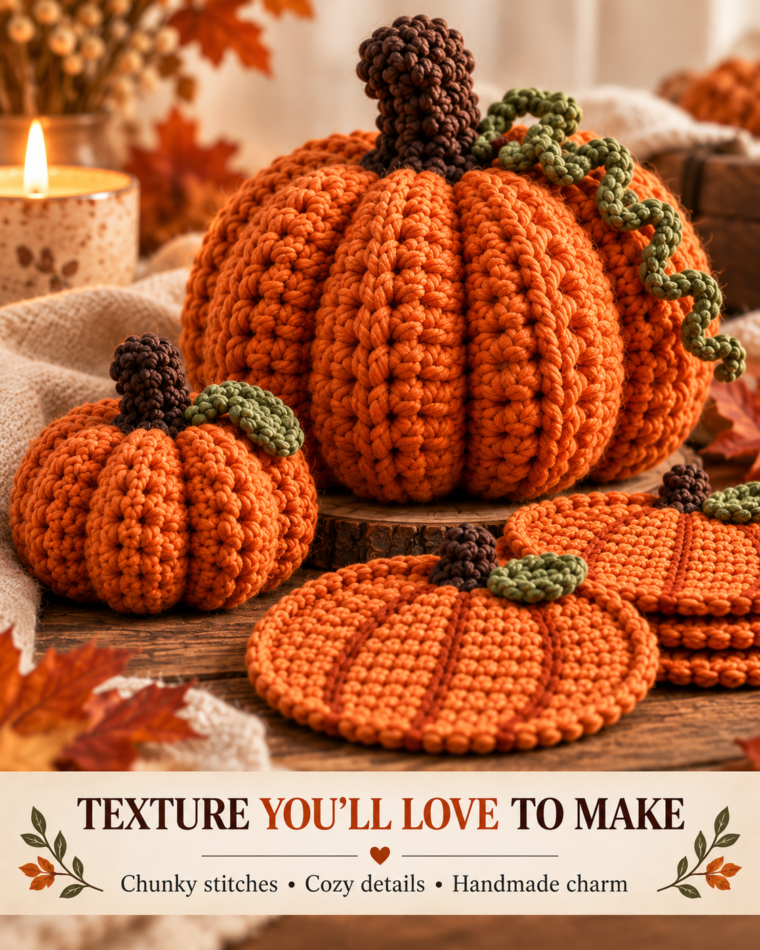
A FOCUSED PUMPKIN COLLECTION
Pumpkin Crochet Patterns — 3 Digital PDF Projects
Choose this collection if Mini Classic Pumpkin, Chunky Ribbed Pumpkin and Pumpkin Coaster Set are the projects you want. It supplies three separate digital PDF patterns, plus a README and personal-use license, in a downloadable ZIP.
Explore the 3 Pumpkin Patterns
Digital patterns for you to make. Yarn, tools and finished decorations are not included.
Want more than pumpkins? The Halloween Crochet Pattern Bundle – 12 Digital PDF Patterns is an optional wider collection if you also want characters, garlands and other seasonal accents. It already includes the three pumpkin patterns, so you do not need both collections just to obtain those projects.
Choose by the designs you intend to make. Neither option includes yarn, tools or finished decorations, and the projects should not be treated as having one shared difficulty level.
Crochet pumpkin questions
Does this article include free crochet pumpkin patterns?
No. This is a project-selection and planning guide. The KCB products linked here are paid digital pattern collections; their full instructions are not reproduced in the article. You can still use the form, color and planning advice with an appropriate pattern you already own.
Are all three pumpkin projects the same difficulty?
Do not assume so. Review the guidance and techniques in each PDF and choose a project that matches your experience. A small finished object is not, by itself, evidence that the project is easier.
Can I use any yarn for a crochet pumpkin?
Start with the yarn and hook guidance in the selected pattern. Different yarn choices may require further checks, especially when the finished dimensions or a coaster’s flatness matter. The same color alone does not make two yarns interchangeable.
Will I receive finished pumpkins or a crochet kit?
No. The KCB collections provide digital PDF patterns for you to follow. No finished pumpkins, coasters, yarn or tools are shipped.
Choose one pumpkin project to begin
Pick the form you want, read its material and technique notes, and plan one finished piece before expanding the group. A small, deliberate make can be enough to bring the season into your home.
Ready to compare the three included projects? View the Pumpkin Crochet Patterns collection and approved gallery, then choose the PDF that fits your plan.
2 notes from other parents